Jewelry boxes: Previous
Published 14Nov2022, updated 17Nov2022

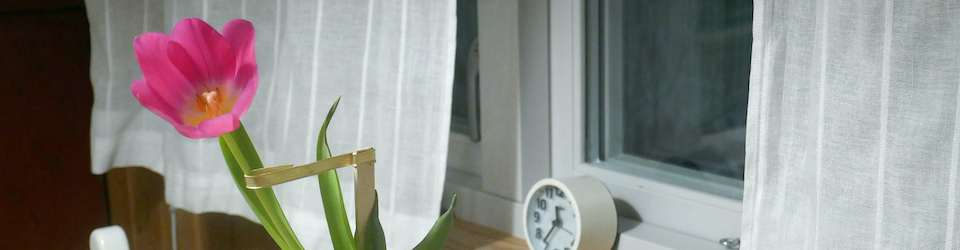
Fig.0
This is the fifth small jewelry box I have made. Also this time for a grandchild. Mari has as usual embroidered the name on the top.
All five boxes are of the same size, but none are alike, even if they are all made of fine strips of pine and treated with beeswax. Plus they all have embroidered top and some green detailing.
Some time in the future I would hope that the «grandadults» might all be able to meet and bring their old boxes to reminisce just a little. But before that, I hope they become fond of them. I have heard that the already more experienced jewelry box owners have commented something in that direction.
The box

Fig.1
This case has three compartments, for three spaces to store jewelry. All the other boxes have had two compartments. The top box also is a compartment, with a flat top lid. Nothing is hinged, and nothing has been hinged on any of the other jewelry boxes, either.
A small child has to lift the case with two hands, I assume. When the hand is able to grasp the edges of a square of 106 mm, then the child will learn that one hand will do, provided the bottom and largest part is grabbed. I guess that the child has to become five years before this would happen? Should any of the boxes take a flying tour with a crash landing I absolutely think that it will survive, due to its low weight and relative strength.
All the green paint details have been glaze painted. Painted and then removed with a soft cloth. This is harder with the water solubable fast drying paint that I now have. But for this small areas it’s ok. So if you think the painting «uneven» then, yes it is!
I defined a visbile front for it, with increasing widths of the green bands, on the way upwards.
The top lid has to be taken off with two fingers. I made an almost invisble edge on the side not seen in these pictures, which certainly helps. On Fig.0 you may notice that this top actually sits into the top box. Still it goes off quite easily. It might not be a problem if one doesn’t conceive it as a problem. After all I made the mentioned edge and sanded the corners for a rather easy access.
My how to

Fig.2
(1-3) An idea was to be very precise (indeed) about the symmetry of the box. I made a frame from two PVC squares that were clamped with a heavy bolt. When I had glued the sides it was easy to push the frame out. It didn’t twist! At the end this turned out to be rather successful, since the box compartments may indeed be positioned any way around. But then, after this I decided to make the box have a front side.
(4-5) I had glued the sides from 4*10 mm strips and made the sides ready for box joints. No photo. Gluing them together is always harder than I think.
(6) I made the lowest zigzag bottom from corner lists this time, which I accepted as becoming somewhat asymmetrical. Why not, I thought, that asymmetry looks ok!. No photo of the process. The idea is that it should be easier to pick up the jewelry with this kind of bottom. At [127] and [094] you will see that for the other boxes with that bottom, the underside is also visible zigzag. I chose the solid solution to make something different, plus I save a mm or two for more space, and it became heavier.
(7) I used a Japanese saw that cuts on the pull stroke to cut the boxes. This saw has a very thin blade, causing the «period» of the box joints to become rather unchanged down the sides.
(8) This is how I glued the ready cut corner lists onto the the 4 mm bottom. They would so easily slip away, so now the box held them in position. Later on the bottom with corner list would be glued onto the lower box.
(9) This shows how I glue the sheets. This is the final sheet for the top and bottom. I use old fashioned clothes pins to press the strips together. The glue I have used here is the Casco type Cascol Indoor. I tried another glue with the Office desk, shelves and folding doors project. When dry it was completely transparent, which I didn’t like. And maybe just too rock hard. The Cascol glue seems to convey more flexibility also as dried.
(10-11, 16) I used my milling machine to make 1.0 mm space for the fabric. I made a sheet from 2*10 mm strips for the lower layer of the top’s top. Then it was important that I pick out out any debris from the gluing to make pushing the fabric in from the top must absolutely go flawlessly.
(12-15) The two top boxes need to have bottoms that won’t ever be pressed through, as the glue ages. I guess I wont’t be here to see that. So they need to be well held in place. I do this for a long usage, like «a hundred years». I didn’t want to rely on glue alone. I then figured out that a cutting in each foot was a good idea. The bottoms then have 45° corners that would be held in place by the feet. Plus glue. For one huuundred years of usage.
Cross-stitch

Fig.3
You wouldn’t believe how much I struggled with getting this drawing correct. Like with most wifes (I hope), it turned out that Mari had not done what I had thought I had told her to do, but just done the embroidery like it was supposed to be done. This figure has some text in Norwegian, but I will try to explain. (By the way, the PDF is here.) The correct way to understand cross-stitch drawings is that a cross goes from corner to corner of the coloured squares, and each square contains 3 wefts by 3 warps, ie. they jump over two.
For some very odd reason I thought each square as 2 by 2 and that a cross filled all 4 holes. If done like that the squares would have visible fabric between them. That could be possible, but I don’t know how it might appear in practice. For all I know, this might be called something, probably other than embroidering.
…

Fig.4
As you see here, neighbouring squares leave very little visible fabric. (The contrast looks worse than it is in practice, because I scanned the embrodery with a black background.)
Neighbouring crosses would use the same fabric hole for the yearn.
Of course, looking finely at this, the fabric might just be seen in the 45 degree windows. But the amount of exposure would depend on the thickness of the yarn.
Epilogue
It measures about 106 x 106 x 86 (height) mm, as the other small jewelry boxes. Spelling: jewelry box or jewellery box or jewel case.
©2022 – Original design and woodcraft by Øyvind Teig, Trondheim, Norway. Cross-stitch embroidery by Mari Bull Jynge Teig.
Search words in Norwegian: Hjemmesnekret smykkeskrin, smykkeeske, smykkeboks, smykkekube, sikksakk trebunn, bivoks